A water heater flush is essential maintenance that removes sediment buildup from your tank, improving efficiency and extending its lifespan. Here's what you need to know:
Quick Water Heater Flush Overview:
Think of your water heater like a coffee pot. Over time, minerals from your water supply—mainly calcium and magnesium—settle at the bottom. This sediment layer forces your heating element to work harder, reduces your hot water capacity, and can cause expensive damage.
Most homeowners in Northern Utah should flush their water heaters annually. If you have hard water or notice signs like rumbling noises or rusty water, you may need to flush more often.
This is a DIY-friendly task that requires basic tools and about an hour of your time. With proper preparation and safety precautions, you can perform this maintenance yourself and save money on professional service calls.

Think of your water heater as the hardworking hero of your home. To keep it performing at its best, a water heater flush is essential. The main job is to remove sediment—mostly minerals like calcium and magnesium—that builds up over time. In Northern Utah, our hard water accelerates this process.
When water is heated, these minerals separate and sink, creating a thick layer at the bottom of the tank. This layer acts as a barrier between the heating element and the water, forcing your unit to work much harder to heat the water. This extra work increases your energy bills and shortens your water heater's life. A simple annual flush can prevent an expensive replacement and help your unit reach its full 10+ year lifespan.

Your water heater will often signal when it needs attention. Look for these common signs:
Most manufacturers recommend an annual flushing, which is a solid rule for most homes. However, your situation might require more frequent flushing.
Skipping this maintenance can lead to a domino effect of costly problems.
Proper preparation is key to a smooth and safe water heater flush. Before you begin, gather the right tools and understand the critical safety steps.
You likely have most of these items already. Gather the following:
This step is critical. You must turn off the power or gas supply before draining the tank to prevent damage or dangerous conditions.

Finally, turn off the cold water supply. Find the shut-off valve on the cold water pipe entering the top of the tank and turn it clockwise until it stops. This prevents the tank from refilling while you drain it.
You'll be draining 40-50 gallons of hot water, so plan accordingly. The initial water can be scalding.
A floor drain or sump pump pit in your basement or utility room is the easiest option. Otherwise, run your garden hose outside to a driveway or lawn. Be mindful that hot water can damage delicate plants, so aim for a durable grassy area or driveway where water flows away from your home's foundation.
Keep kids and pets away from the drainage area. For added safety, you can turn off the heater the night before to let the water cool down. Following proper safety steps protects you and your property.
Follow these instructions to safely and effectively flush the sediment from your tank water heater. The process typically takes 60-90 minutes, depending on your tank size and the amount of sediment.
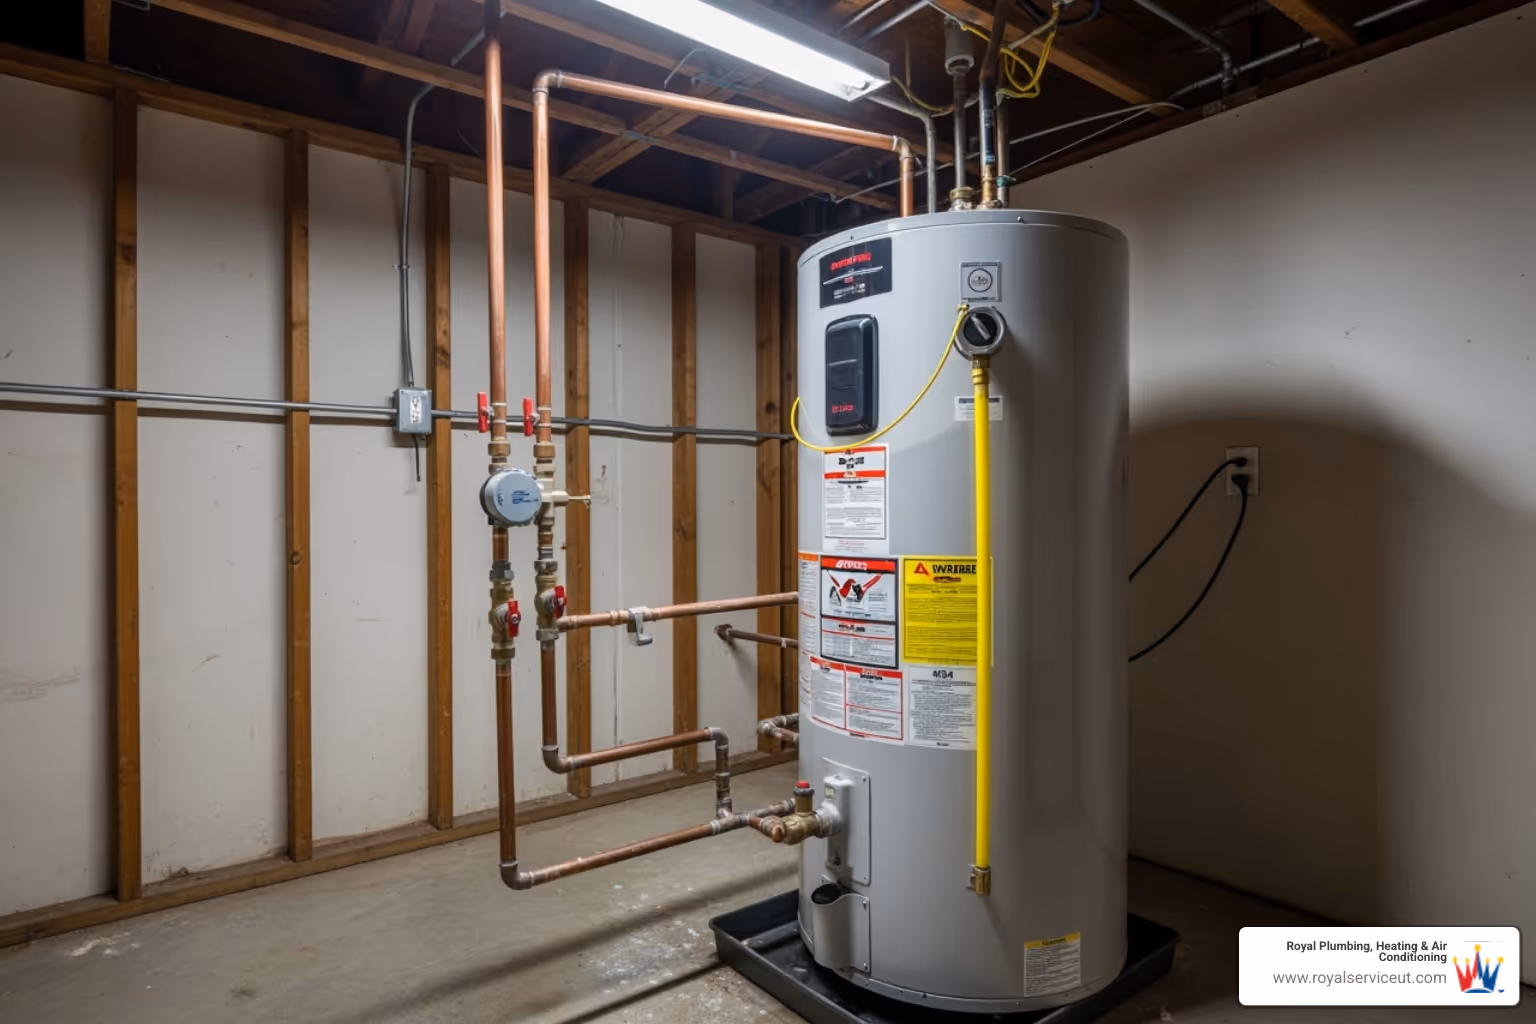
First, locate the drain valve at the bottom of your water heater. Connect your garden hose securely to this valve to prevent leaks. Position the other end of the hose at your chosen drainage spot, ensuring it slopes downward to let gravity do the work.
Next, open a hot water faucet somewhere in your house, preferably on an upper floor. This crucial step allows air to enter the system as the tank drains, preventing a vacuum from forming that could slow or stop the process.

Now it's time to remove the sediment. Open the drain valve slowly. The initial water may be discolored or have visible chunks—this is the sediment you want to remove.
Allow the tank to drain completely, which can take 20-60 minutes. Once the water starts to run clearer, you can perform a more thorough flush. Close the drain valve, then open the cold water supply valve for about 30-60 seconds. This stirs up stubborn sediment at the bottom.
Close the cold water valve and reopen the drain valve. You will likely see another burst of dirty water. Repeat this flush and drain process a few times until the water flows consistently clear.
Once the water is clear, close the drain valve completely and disconnect your garden hose. Ensure the valve isn't dripping.
Refill your tank by slowly opening the cold water supply valve. Keep the hot water faucet from Step 1 open to allow trapped air to escape. Once water flows steadily from that faucet without sputtering, the tank is full, and you can close the faucet.
Now, restore the power or gas. For an electric water heater, ensure the tank is completely full before flipping the circuit breaker back on. Turning on an empty or partially full electric heater will instantly burn out the heating elements.
For gas water heaters, turn the control valve back to "ON" or "HOT." If the pilot light went out, relight it according to the manufacturer's instructions.
It will take some time for the water to heat up again. For a visual guide, check out this resource: How to do a thorough drain and flush.
After your water heater flush, a few final checks will ensure your system is operating perfectly. It's also important to understand special cases like tankless or older units.
With the tank refilled and power restored, perform these checks:
Tankless water heaters don't collect sediment but require descaling to remove mineral buildup in the heat exchanger coils.
Descaling involves circulating a cleaning solution (white vinegar or a specialized descaler) through the unit. This requires a submersible pump, hoses, and isolation valves to create a closed loop. The solution circulates for 45-120 minutes before being rinsed out. This process is more involved than a tank flush, and many homeowners prefer to hire a professional.
For a DIY guide, see: How to flush a tankless unit.
If your unit is over 10 years old and has never been flushed, proceed with caution. Years of undisturbed sediment can sometimes plug small leaks in an aging tank. Draining the tank can dislodge these plugs, revealing leaks.
The drain valve itself might be clogged with hardened sediment, making it impossible to open. Additionally, the sudden temperature and pressure changes from draining and refilling can stress a weakened tank, causing new cracks or leaks.
When should you call a professional? If your water heater is over a decade old with an unknown maintenance history, or if you encounter a stuck or leaking drain valve, it's best to stop and call for help. For very old units, the safest option may be to leave it alone and plan for a replacement.
Here are answers to the most common questions we receive about performing a water heater flush.
The entire process, including draining and refilling, typically takes 60 to 90 minutes for a standard tank water heater. This can vary based on tank size and the amount of sediment buildup. A heavily sedimented 80-gallon tank might take closer to 2 hours. Descaling a tankless unit takes a similar amount of time.
This is a critical mistake. Turning on an empty or partially full electric water heater will cause the upper heating element to burn out almost instantly, requiring a costly replacement. The heating elements are designed to be submerged in water, which acts as a coolant. Without water, they overheat in seconds and fail. Always ensure the tank is completely full before restoring power.
While a water heater flush is a manageable DIY project, some situations require an expert:
Congratulations on completing one of the smartest maintenance tasks a homeowner can do. A regular water heater flush is an effective way to extend your unit's lifespan, improve its efficiency, and prevent unexpected breakdowns.
By removing sediment buildup, you've helped your unit work more efficiently, which means lower energy bills and more consistent hot water. The hour you invested today can add years to your water heater's life, potentially saving you thousands in premature replacement costs.
We know that not everyone is comfortable with DIY home maintenance. Perhaps you ran into a stubborn drain valve, or you're concerned about flushing an older unit. Sometimes, the smartest decision is knowing when to call a professional.
If you're in Northern Utah and need expert assistance with your water heater flush or encounter any issues, the certified technicians at Royal Plumbing, Heating & Air Conditioning are ready to help. We've been helping homeowners from Cache to Salt Lake County keep their hot water flowing smoothly for years. Your home's comfort is our top priority.
Whether you need help with a tricky flush or want the peace of mind that comes with professional maintenance, we're here for you. Learn more about our plumbing and HVAC services in West Valley City.
Find answers to frequently asked questions about our services.
By reading this blog post, you will gain valuable insights and knowledge that can help you in your daily life.
The purpose of this blog post is to inform and educate readers about a specific topic, providing them with useful information and tips.
The target audience for this blog post includes individuals who are interested in learning more about the topic and seeking practical advice.
You can apply the knowledge and tips shared in this blog post to your own life by implementing them in your daily routine.
The benefits of reading this blog post include gaining new perspectives, acquiring practical skills, and enhancing your overall knowledge on the topic.
Absolutely! Feel free to share this blog post with your friends, family, or anyone who might find it helpful or interesting.
Yes, the information provided in this blog post is reliable and based on credible sources. We strive to ensure the accuracy and quality of the content we share.
The benefits of reading this blog post include gaining new perspectives, acquiring practical skills, and enhancing your overall knowledge on the topic.
If you have more questions related to the blog post topic, please don't hesitate to contact our team. We're here to help!
We value your feedback! If you have any suggestions, comments, or feedback regarding this blog post, please let us know. Your input is important to us.
Trust our team of dedicated professionals for all your HVAC and plumbing needs.
